photoac9mp is a compact imaging solution that many users consider in 2026. The guide explains what photoac9mp does, who benefits, and how to get consistent results. It states strengths, limits, and practical steps. It focuses on image quality, settings, and real-world shooting. The text stays direct and clear so readers can act on the information fast.
Table of Contents
ToggleKey Takeaways
- PhotoAC9MP is a compact 9-megapixel camera module ideal for hobbyists, content creators, and educators seeking affordable and consistent image quality.
- Choose between the standard lens for portraits and product shots or the wide-angle kit for interior and close-up work to match your project needs.
- Manual settings like white balance and exposure adjustment are essential for achieving consistent and high-quality photos with photoac9mp.
- The module supports raw and JPG files, with raw mode preferred for heavy editing to avoid over-processing from the ISP.
- Keep ISO low and use proper stabilization techniques to minimize noise and motion blur, enhancing image sharpness and detail.
- Regularly update firmware and software to benefit from improvements in autofocus, image processing, and connectivity for optimal photoac9mp performance.
What PhotoAC9MP Is And Who It’s For
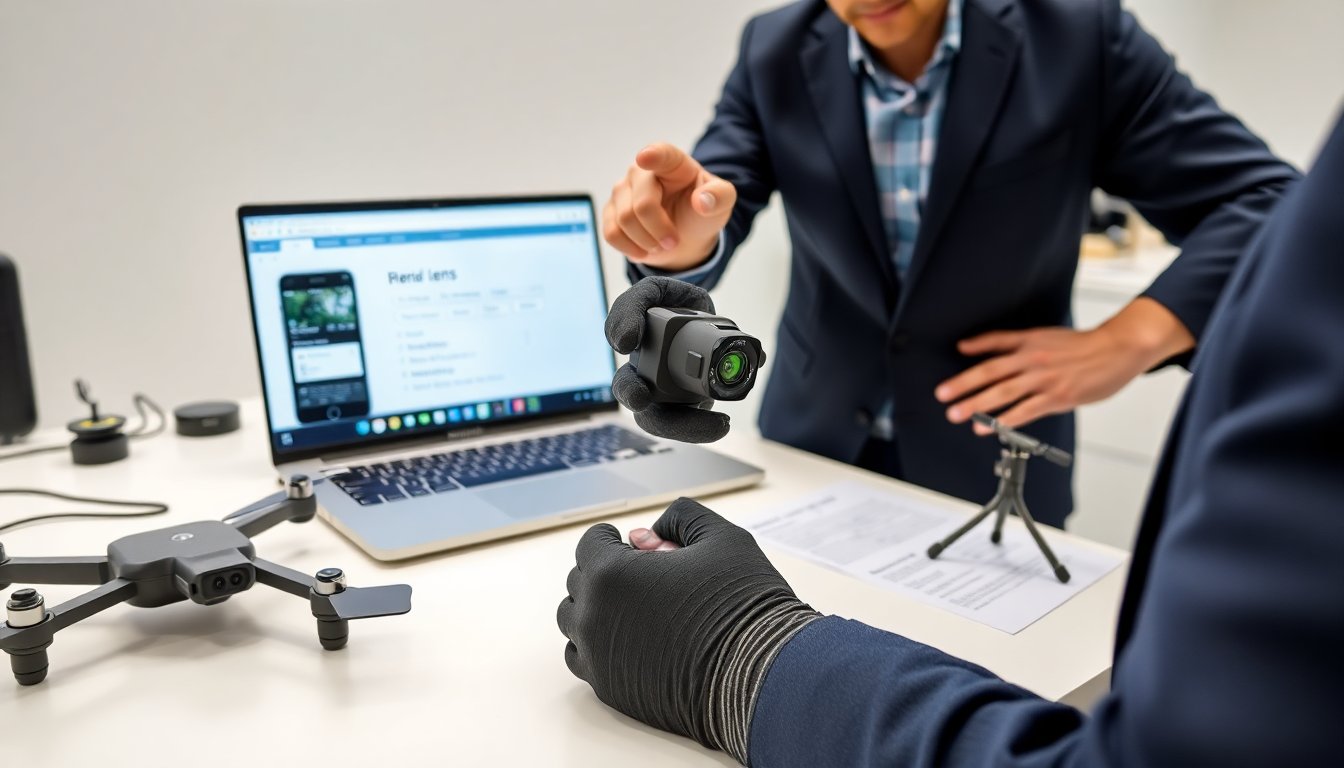
PhotoAC9MP refers to a camera module and product line that targets hobbyists, content creators, and field technicians. The module combines a 9-megapixel sensor, adjustable optics, and a lightweight control board. It ships with a basic SDK and a mobile app that handles capture and transfer. The product aims to balance price and usable image quality rather than push flagship specifications.
Users pick photoac9mp when they want a small package, low power draw, and simple integration. Makers embed the module in drones, inspection rigs, and DIY photography rigs. Educators use it for classroom labs because the device stays affordable and simple to set up. Streamers and casual photographers use it as a backup camera when they need consistent color and easy controls.
The product does not suit professionals who demand full-frame sensors or high dynamic range for print. It also does not suit those who need extreme low-light performance without added lighting. Buyers should match their project needs to the module’s feature set before purchase.
PhotoAC9MP often ships in two variants: a standard lens and a wide-angle kit. The wide-angle kit helps users capture interiors and close work. The standard lens helps users keep perspective and reduce distortion. Buyers choose the variant that fits their workflow.
Key Technical Features, Image Quality, And Real-World Performance
The photoac9mp sensor measures roughly 1/2.3 inch and resolves nine million effective pixels. The sensor produces JPG and raw output depending on firmware. The module supports up to 4K downsampled video at moderate frame rates and stills at full resolution. It includes an ISP that applies noise reduction and color correction.
Image quality varies by light. In daylight the module delivers sharp details and accurate color for social media and online product images. In mixed lighting the ISP can over-smooth shadow areas. Users can switch to raw mode to avoid heavy processing when they plan to edit in post.
Low-light performance relies on exposure control and lens speed. The module performs well with controlled light and LED illumination. It shows noise and color shift above ISO 800. Users who need cleaner low-light results add a light source or use multi-frame stacking in post.
Lens choices affect sharpness, field of view, and distortion. The stock lens balances sharpness and edge falloff. The wide kit increases field of view at the cost of some corner softness. The module supports manual focus on hardware revisions and autofocus via firmware updates on later batches.
Connectivity and power are practical. PhotoAC9MP uses standard MIPI or USB interfaces for data. It draws modest power and runs from small batteries for long field sessions. The SDK supports Linux and embedded systems. Integration requires basic firmware flashing and attention to thermal management for extended use.
Real-world tests show consistent results when users set white balance and exposure manually. The module handles color and contrast well for online content. It does not replace higher-end cameras for large prints or cinematic production, but it gives predictable and usable results in most practical scenarios.
How To Choose, Configure, And Use PhotoAC9MP For Better Photos
Buyers should start by matching the device variant to the project. Choose the wide kit for interiors and the standard lens for portraits and product shots. Check firmware version and order the unit with manual focus if the project needs precise control. Confirm accessory compatibility such as lenses, mounts, and filters.
Set up the module on a stable mount. Use a tripod or rig to reduce motion blur. Place the module at the work distance that matches the lens focal length. Frame the subject, then lock the mount and make small composition adjustments.
Configure basic settings before each session. Set white balance manually to match the light source. Set exposure with a mid-tone target and then tweak to protect highlights. Choose raw capture for images that need heavy editing. Use JPG for quick sharing and fast workflows.
Control autofocus and focus peaking where available. If autofocus proves inconsistent, switch to manual focus and use live view magnification. Use a small aperture to increase depth of field for product shots. Use a larger aperture to isolate the subject in portraits.
Manage noise and detail. Lower ISO whenever possible. Increase light or use a longer exposure to keep ISO low. For handheld shots, raise shutter speed and stabilize the camera. For static subjects, use longer exposures and a tripod.
Apply simple post-processing steps. Correct white balance, recover highlights, and adjust contrast. Apply selective sharpening to preserve skin tones and avoid halos. Use noise reduction only where needed and work on raw files for best control.
Keep firmware and app software updated. Manufacturers release incremental firmware that improves autofocus, image processing, and connectivity. Register the device to receive updates and follow the vendor’s setup guides.
Practice common shots for repeatable results. Create a short checklist that covers lens selection, white balance, exposure, focus mode, and stabilization. The checklist helps teams produce consistent images across sessions.
With correct choice, setup, and practice, photoac9mp delivers reliable, high-quality files for online media, inspection work, and light creative projects. It gives predictable results when the user matches the tool to the task and follows clear procedures.