Ezy8542 is a compact controller that handles device input, sensor data, and basic automation. The device targets small offices and hobbyist projects. This guide describes key features, setup steps, and common fixes. It aims to help users get Ezy8542 working fast with clear, direct instructions.
Table of Contents
ToggleKey Takeaways
- Ezy8542 is a compact, low-cost controller ideal for small offices and hobbyist projects, offering easy integration and quick boot times.
- The device features multiple connectivity options including Ethernet, USB, and optional Wi-Fi, supporting common protocols like HTTP, MQTT, and Modbus RTU.
- Setup involves powering the unit with 5V, connecting via Ethernet or USB, accessing the web UI through the default IP, and configuring sensors and network settings.
- Common issues such as power failures, network problems, and sensor inaccuracies can be resolved by checking connections, calibrating sensors, or reflashing firmware.
- Security best practices include changing default passwords, disabling unused services, and restricting admin access by IP address to protect the Ezy8542 controller.
- Regular maintenance like firmware updates and monthly power cycles help ensure consistent performance and prevent transient faults.
What Is Ezy8542? A Clear Overview
Ezy8542 is a small embedded controller that runs a lightweight firmware. It reads sensors, sends commands, and logs events to local storage. The device uses a common microcontroller core and includes onboard memory and GPIO. It supports simple scripts and scheduled tasks. Manufacturers ship Ezy8542 in a metal case or on a development board. The product aims at hobbyists, small teams, and remote-monitoring setups. It competes on price, size, and ease of use. Users choose Ezy8542 when they want a low-cost unit that boots quickly and integrates with common tools.
Top Features And Specifications
Ezy8542 packs a mix of I/O, memory, and connectivity in a compact layout. The specs prioritize steady performance and easy integration. The list below highlights the main design points and practical limits.
Performance And Hardware Details
Ezy8542 uses a 32-bit microcontroller that runs at moderate clock speeds. It includes SDRAM or NAND flash depending on the model. The unit offers multiple GPIO pins, ADC channels, and PWM outputs. Power use stays low in idle and rises under active load. The controller supports simple user scripts and handles small data logs locally. Users get enough CPU headroom for sensor polling, light data processing, and simple control loops. The hardware design favors reliability and predictable timing over peak throughput.
Connectivity, Compatibility, And Supported Standards
Ezy8542 connects via Ethernet, USB, or optional Wi‑Fi modules. It speaks common protocols such as HTTP, MQTT, and Modbus RTU over serial. The device supports standard voltage levels on GPIO and common sensor interfaces like I2C and SPI. Ezy8542 runs a simple API and offers a web UI for configuration. It accepts firmware updates via USB or network. Drivers exist for major OS platforms to help with local integration. The device works with many third-party tools that use REST or MQTT.
How To Set Up Ezy8542 Step By Step
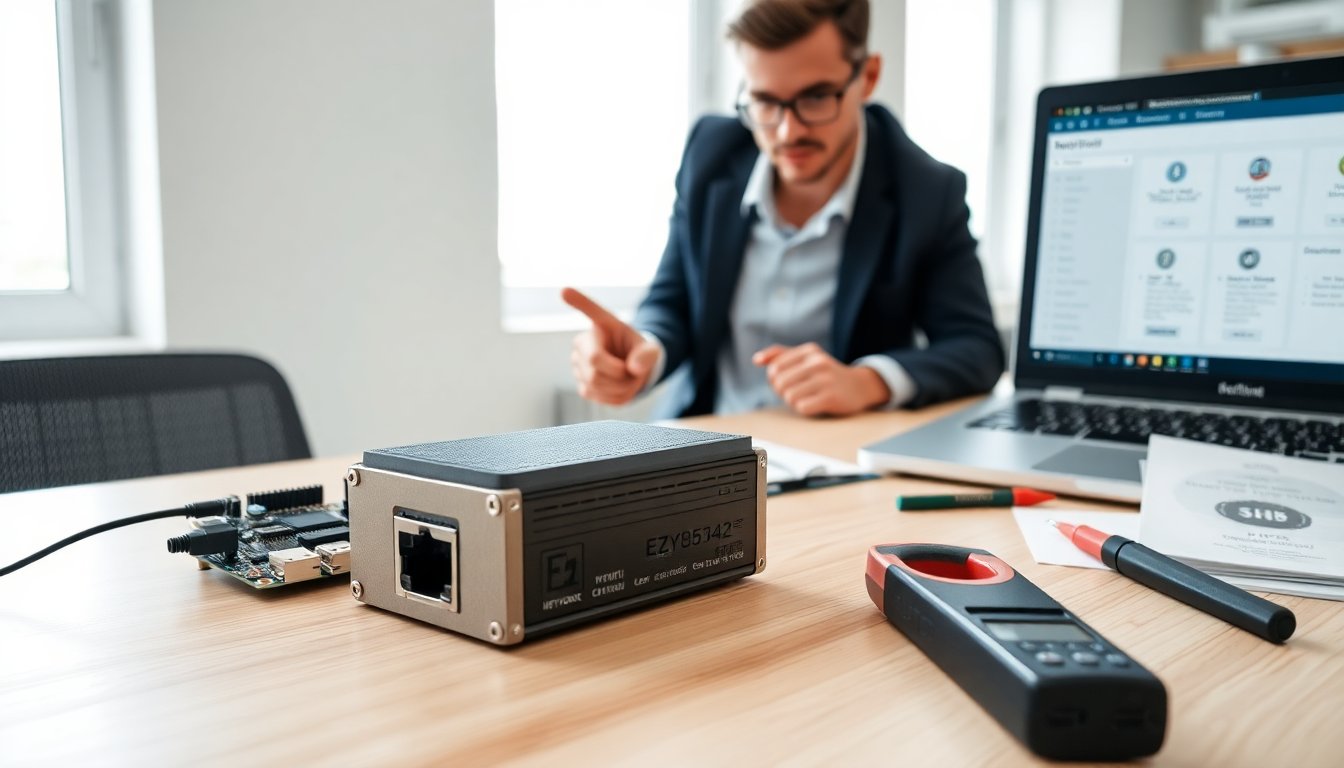
Unbox Ezy8542 and inspect the unit. Connect a stable 5V supply to the power input. Attach a short Ethernet cable or plug a USB cable to a host computer. Power the device and watch the LEDs for a boot signal. Open a web browser and enter the default IP address shown in the quick start sheet. Log in with the supplied admin credentials. Update the firmware if a newer build is available. Configure network settings, time zone, and basic security. Add sensors by connecting them to the labeled GPIO headers. Use the web UI to map inputs and outputs. Save the configuration and restart Ezy8542 to apply changes.
Common Problems And How To Fix Them
Users often face network, power, or sensor issues with Ezy8542. The section below lists the most frequent faults and a direct fix for each. Follow each step to reduce troubleshooting time.
Quick Troubleshooting Checklist And Best Practices
No power: Check the power supply and fuse. Measure voltage at the input pins. Replace the cable if readings fall below spec. No network: Confirm the Ethernet link LED and test the cable with another device. Set a static IP if DHCP fails. Web UI inaccessible: Clear the browser cache or try a different browser. Factory reset if login credentials are lost. Sensors report wrong values: Verify wiring and voltage levels. Calibrate the ADC in the web UI when needed. Firmware hangs or reboots: Reflash the official firmware and avoid interrupted updates. Logs show repeated errors: Enable verbose logging and capture entries for ten minutes. Send logs to support if errors persist. Security: Change default passwords, disable unused services, and restrict admin access by IP when possible. Backup: Export configuration after setup and save firmware images locally. Maintenance: Schedule periodic firmware checks and power-cycle the unit monthly to clear transient faults. If a hardware fault appears, contact the vendor for repair or RMA following warranty steps.